
This tutorial will walk you through installing and configuring the 'Boost' minigame. This minigame is great for your players to have some quick and fun games, and all it requires from you is some initial configuration.
Minigames are fantastic for your players, they have tons of fun and it keeps them engaged on your server - while they are logged in, they might try out some of your other game modes such as Skyblock, pvp, or start questing through storylines if you've set them up.
Minigames are also a great way to celebrate seasonal events, such as Easter, Christmas, Halloween and any other event you can think of. Great plugins exist that you can use to create a fun experience for your players to enjoy, and for this post, we want to show you how you can install and use a simple plugin called Boost made by pmme. By the end of this tutorial, we will have installed and configured the plugin, set up our play area, and also set up leaderboards so our players can keep track of who is the best!
Boost is a game where players have to push other players off ledges and there are several game modes available, including parkour, elimination, and race to the top. Boost is fun and fast-paced, and players can compete for the top of the leaderboard or simply have a quick game for a break from farming - it all depends on your server!
This tutorial is using a 1.19.2 Spigot server hosted on GTX Gaming, we're also using Boost, and depending on how you want to configure your minigame, you may also need a permissions system, for which we would recommend LuckPerms. For the purposes of this tutorial, we are using the example arenas that are provided on the Spigot page.
Make sure you are OP and have flying permissions, to make your life easier. To do this, go to your web console (on your server host), and type 'op <username>'. Ingame, change your personal gamemode to Creative by typing '/gamemode creative <username>'. For ease, your character can now easily fly (press double jump) and use OP commands.
Installation
Installation is quite simple, we need to go to /File Manager and then /Plugins and drag and drop or upload our Boost.jar. We will need to reload or restart the server for the new folders to be created.
Once you've done this, head inside /Plugins and then /Boost to view the config we'll be working with. We can now head ingame, where we will organise the rest of the minigame.
You should also open up the Boost wiki, as you may need it for additional config you may want to do that isn't covered by this tutorial. Something important to note from the Spigot page is this, however:
- "Note: While Boost has most of what is required for multi-world support it has no inventory protection. Players will be given Boost-related items.
If you are using a multi-server network with a separate server for Boost this is not a problem.
If you are using multiple worlds on a single mixed-mode server, you should use a plugin such as Multiverse Inventories to keep any Boost worlds in their own inventory group."
You should keep this in mind while designing your minigame, and decide how you want to approach inventory management.
Configuration
By default, players are only able to access the player commands, and admins are the only ones able to access Boost admin commands, so we don't need to do anything with permissions at this stage if we don't want to.
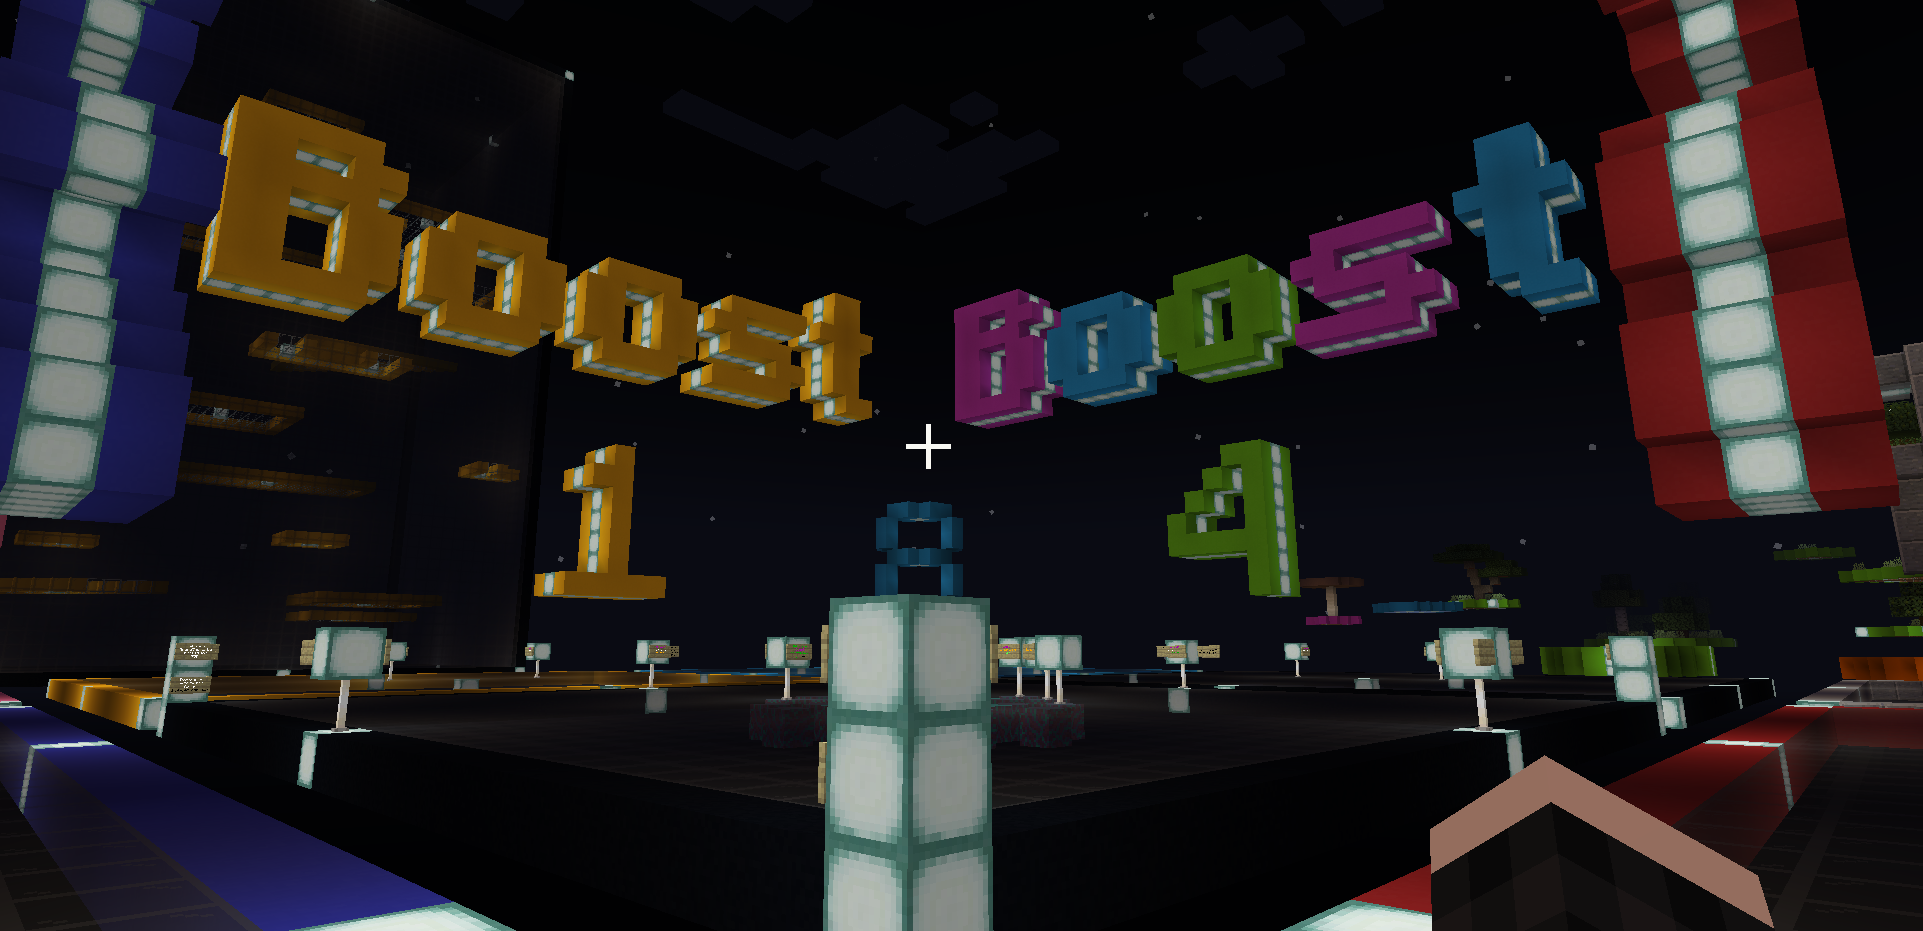
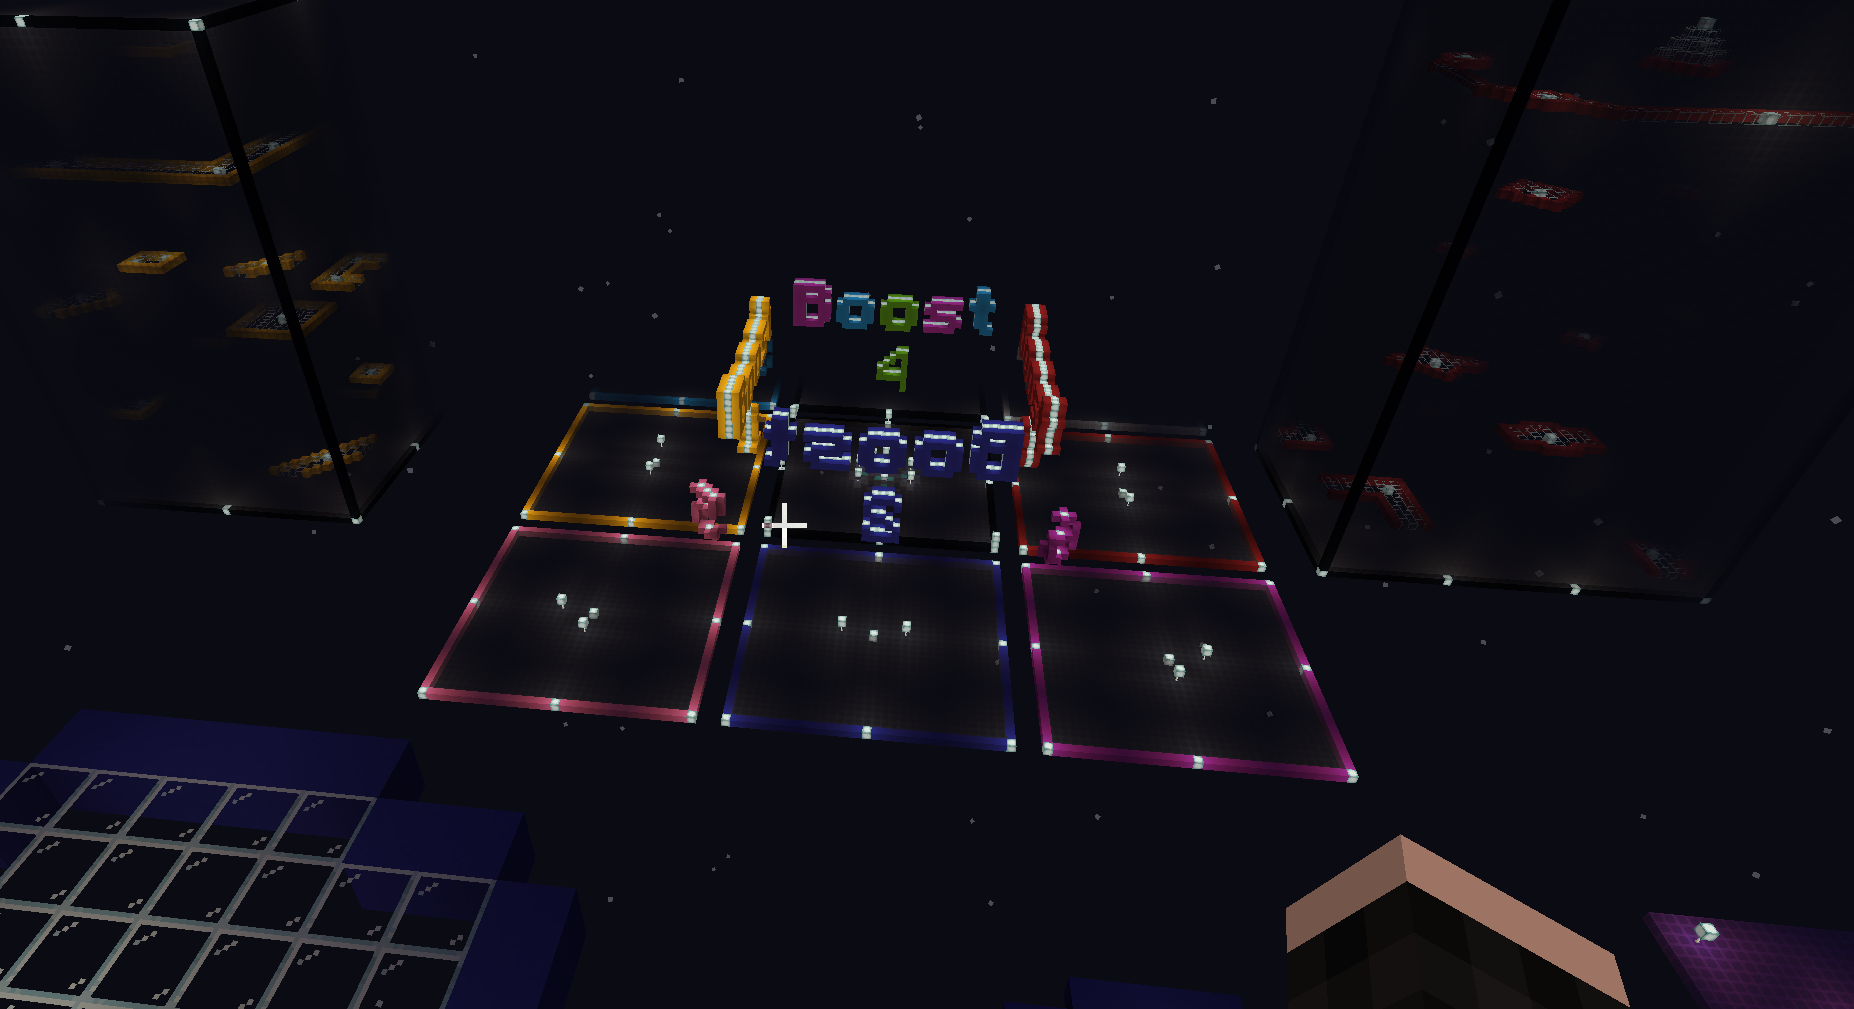
We are using the example arenas provided with the plugin (downloaded from the Spigot page). You could absolutely create your own arenas, so your server is entirely different from any other, and you could alternate arenas in new updates to your server, so you can keep your players engaged and coming back to try the new challenge!
If you want to create your own arena, you will need to get creative with building, which is easy to do as Boost gives creative building to admins by using '/boost build'. We will need to set our game lobby, as well as set where the start point and finishing point are in the game.
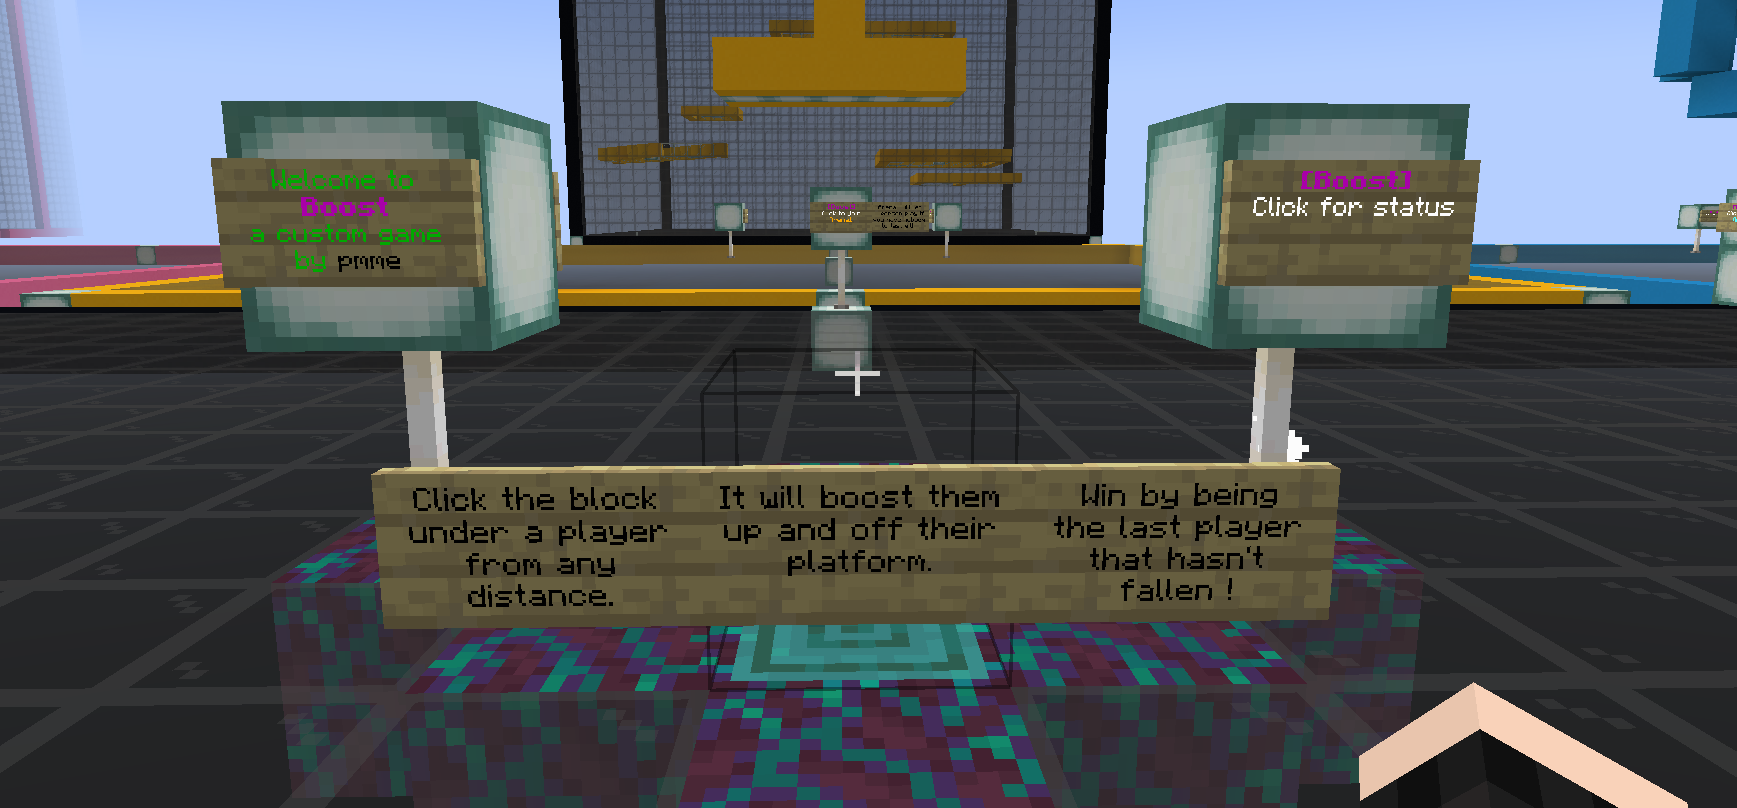
We want our players to have a lobby to run around and wait in while they wait for their game queue. The example arena gives a bright and colourful lobby that we can use that includes signs for players to quickly access the game. If you want to set your own lobby, you would use the '/boost setmainlobby' command.
Let's create our game, and luckily, the plugin provides numerous commands we can use for the best control of our games, and so you can make each game totally different to each other in gameplay as well as build. Because there are numerous steps to fully creating your game via commands, you should use the helpful instructions provided by the Boost wiki, click the link below to expand:
Boost Game Creation Wiki Instructions
"The following steps will create a game configuration.
- Choose a name for your Boost game. For this example I will use "Boost1". Wherever you see "Boost1" in the commands below, you can substitute your chosen game name if it is different.
- Run
/boost creategame Boost1to create the game "Boost1". This creates the initial configuration node for the game with a few default settings. The game is not ready to play at this point and players will not be able to join it even if there are other games already created that they can join. - Run
/boost setgametype Boost1 eliminationto set the type of game play to eliminate other players.
A popular alternative is/boost setgametype Boost1 raceto set the type of game play to race to the top. - Move to the point in the game's queuing lobby where you want players to be teleported when they join the game before it starts. As noted above, this could also be in your main lobby.
- Run
/boost setlobby Boost1. - Move to the point in the game's arena where you want players to spawn when the game starts. If you have made a vertical arrangement of platforms then probably the best initial choice is the top platform.
- Position yourself in the centre of the platform.
- Run
/boost setstart Boost1 Start1, whereStart1is the name of your first start spawn (and only start spawn unless you add others later). - Measure the distance in blocks from your start position to near the edge of the platform. For this example I will assume that the platform is at least 10 blocks across and the start position is in the centre. I will therefore use a measurement of 4 from the start position to near the edge.
- Run
/boost setspread Boost1 Start1 4where4can be any measurement that suits your start platform. - If your game type is "elimination", move to the point where you want players who lose to spawn in spectator mode for the remainder of the game.
- If your game type is "elimination", run
/boost setloss Boost1. - You must set one of either the losing ground level or the winning ceiling level, or the game will never end. You can set both on one game arena.
- If your game type is "elimination", drop to the ground under your platforms. If you have built in a void world, fly down to a point under the platforms but ensure you are higher than -1.
Run/boost setground Boost1. This is setting the "ground" level at which a falling player is considered to have lost and is then out of that game. - If your game type is "race", fly up to the winning platform level.
Run/boost setceiling Boost1. This is setting the "ceiling" level at which a player is considered to have won, regardless of how many other players are still in the game.
Your game now has a basic configuration ready for play. There are some defaults that you can change later, such as minimum players to start, countdown time to start, coloured display name.
- Run
/boost showgameconfig Boost1to display the current configuration of your game in chat."
We want to create a race game, so we will use '/boost creategame Boost1', then to set the game type we use '/boost setgametype Boost 1 race' and move to the starting point of our race, we use '/boost setstart Boost1 Start1'. We also need to run the spread command '/boost setspread Boost1 Start1 4'. We'll fly up to the top of our chosen build and we will type '/boost setceiling Boost1'. The basics of a game have now been completed, but you can make some small adjustments, such as requiring the player to hit a sign to be the winner, you can find out more by checking the wiki.
If you have followed the instructions for creating a game, you should now have a functioning minigame arena.
Adding Game Signs So Players Can Easily Join Arenas
You can allow your players to join the games in several ways, either by using ingame signs, or via typing commands. You could let your players do both, or you could restrict one via permissions - for example, if you want to allow ranked players, perhaps VIP, to be able to use the /commands then you could do this via a permission system. You could even restrict certain arenas to certain ranks, for example, if you built a huge challenging arena for a specific event, you could configure the permissions so that only people with the event rank can enter. There is really plenty of scope for how you can add more depth and more value to your gameplay with permissions, and we'd recommend you read our tutorial on how to set up ranks.
Creating join game signs is very simple, place a sign, face it, and simply type '/boost setsign join <game name>', and now your players can easily join games automatically. We can place additional signs so that players can leave the game ('/boost setsign leave') and for checking the top players in a given timeframe (day/week/month).
Rewarding Players For Winning Games
The method of declaring a winner will differ slightly depending on the game type, for example, for parkour the player should click a sign to register completion of the course, but for the race game mode the first 3 players to reach the top are declared the winners. You should read this section of the wiki for more information on your game type.
For most game types, Boost includes a built-in way to reward players automatically for scoring in the top 3 on the leaderboard in either the daily, weekly or monthly leaderboards. This is a fantastic way for you to automate a task so that it leaves you with more time for other things on your server, such as engaging with your community.
An easy way of adding a reward to your chosen game is via this command '/boost addwincommand <name of game> <command>', and for testing purposes, we have written '/boost addwincommand Boost1 give %player% stone 1'. When we test the win command via '/boost testwincommand <name of game> <players username>' we receive 1 stone!
You could add any kind of rewards to your games, for example, in one of our other tutorials, we used GadgetsMenu which comes with a custom currency called Mystery Dust. Players could use this currency to buy cosmetics for our server, if we wanted to link these plugins together, we could reward mystery dust for winning the challenges. We could do this via '/boost addwincommand Boost1 mysterydust add %player% 10' which will reward the winning player with a small amount of mystery dust for each time they win the game.
This is a great example of how you can link various plugins together, allowing you to reward your players in a more in-depth way, and a good example of how you could set currency rewards. If you wanted, you could set a currency purely for the Boost minigame which could be spent on cosmetics earned only by competing and clearing the parkour challenges or by winning in competitive games.
You should now be able to set your winning commands to reward your top players! Once the initial configuration of the Boost plugin is set up, there isn't really much maintenance required, and you can let the minigame run on your server providing your players with plenty of entertainment. We hope we've got you excited about trying out minigames on your server!
You are able to add holograms to display leaderboards, as well as add announcements for game winners and many other fun utilities that you can customise with this plugin! Using minigames on your game server allows your players to do short fun challenges that break the cycle of farming or PVP, and lets them do something entirely different.
We hope this tutorial has helped you understand how you can set up a minigame and automate rewards. You can also restrict permission access and give this via ranks earned ingame or via other means. You may also find our other tutorials useful, such as how to create a custom fishing event, how to set up player ranks, and how to create your server spawn.
If you're brand new to Tebex you may find our getting started guide useful, and if you have any questions our friendly support team will be happy to help, just send them an email at support@tebex.io.